How to Download Presets
If you downloaded the bundle, please click here for slightly different instructions.
Step One: Open Email or Download from Order Confirmation Page and click the download link

Step Two: This will open your download instructions, click the membership link to open the membership page

Step Three: Once the membership page is open, click the preset to download it.

Step Four: Click Download

Step Five: Open your Downloads and select the preset you just downloaded
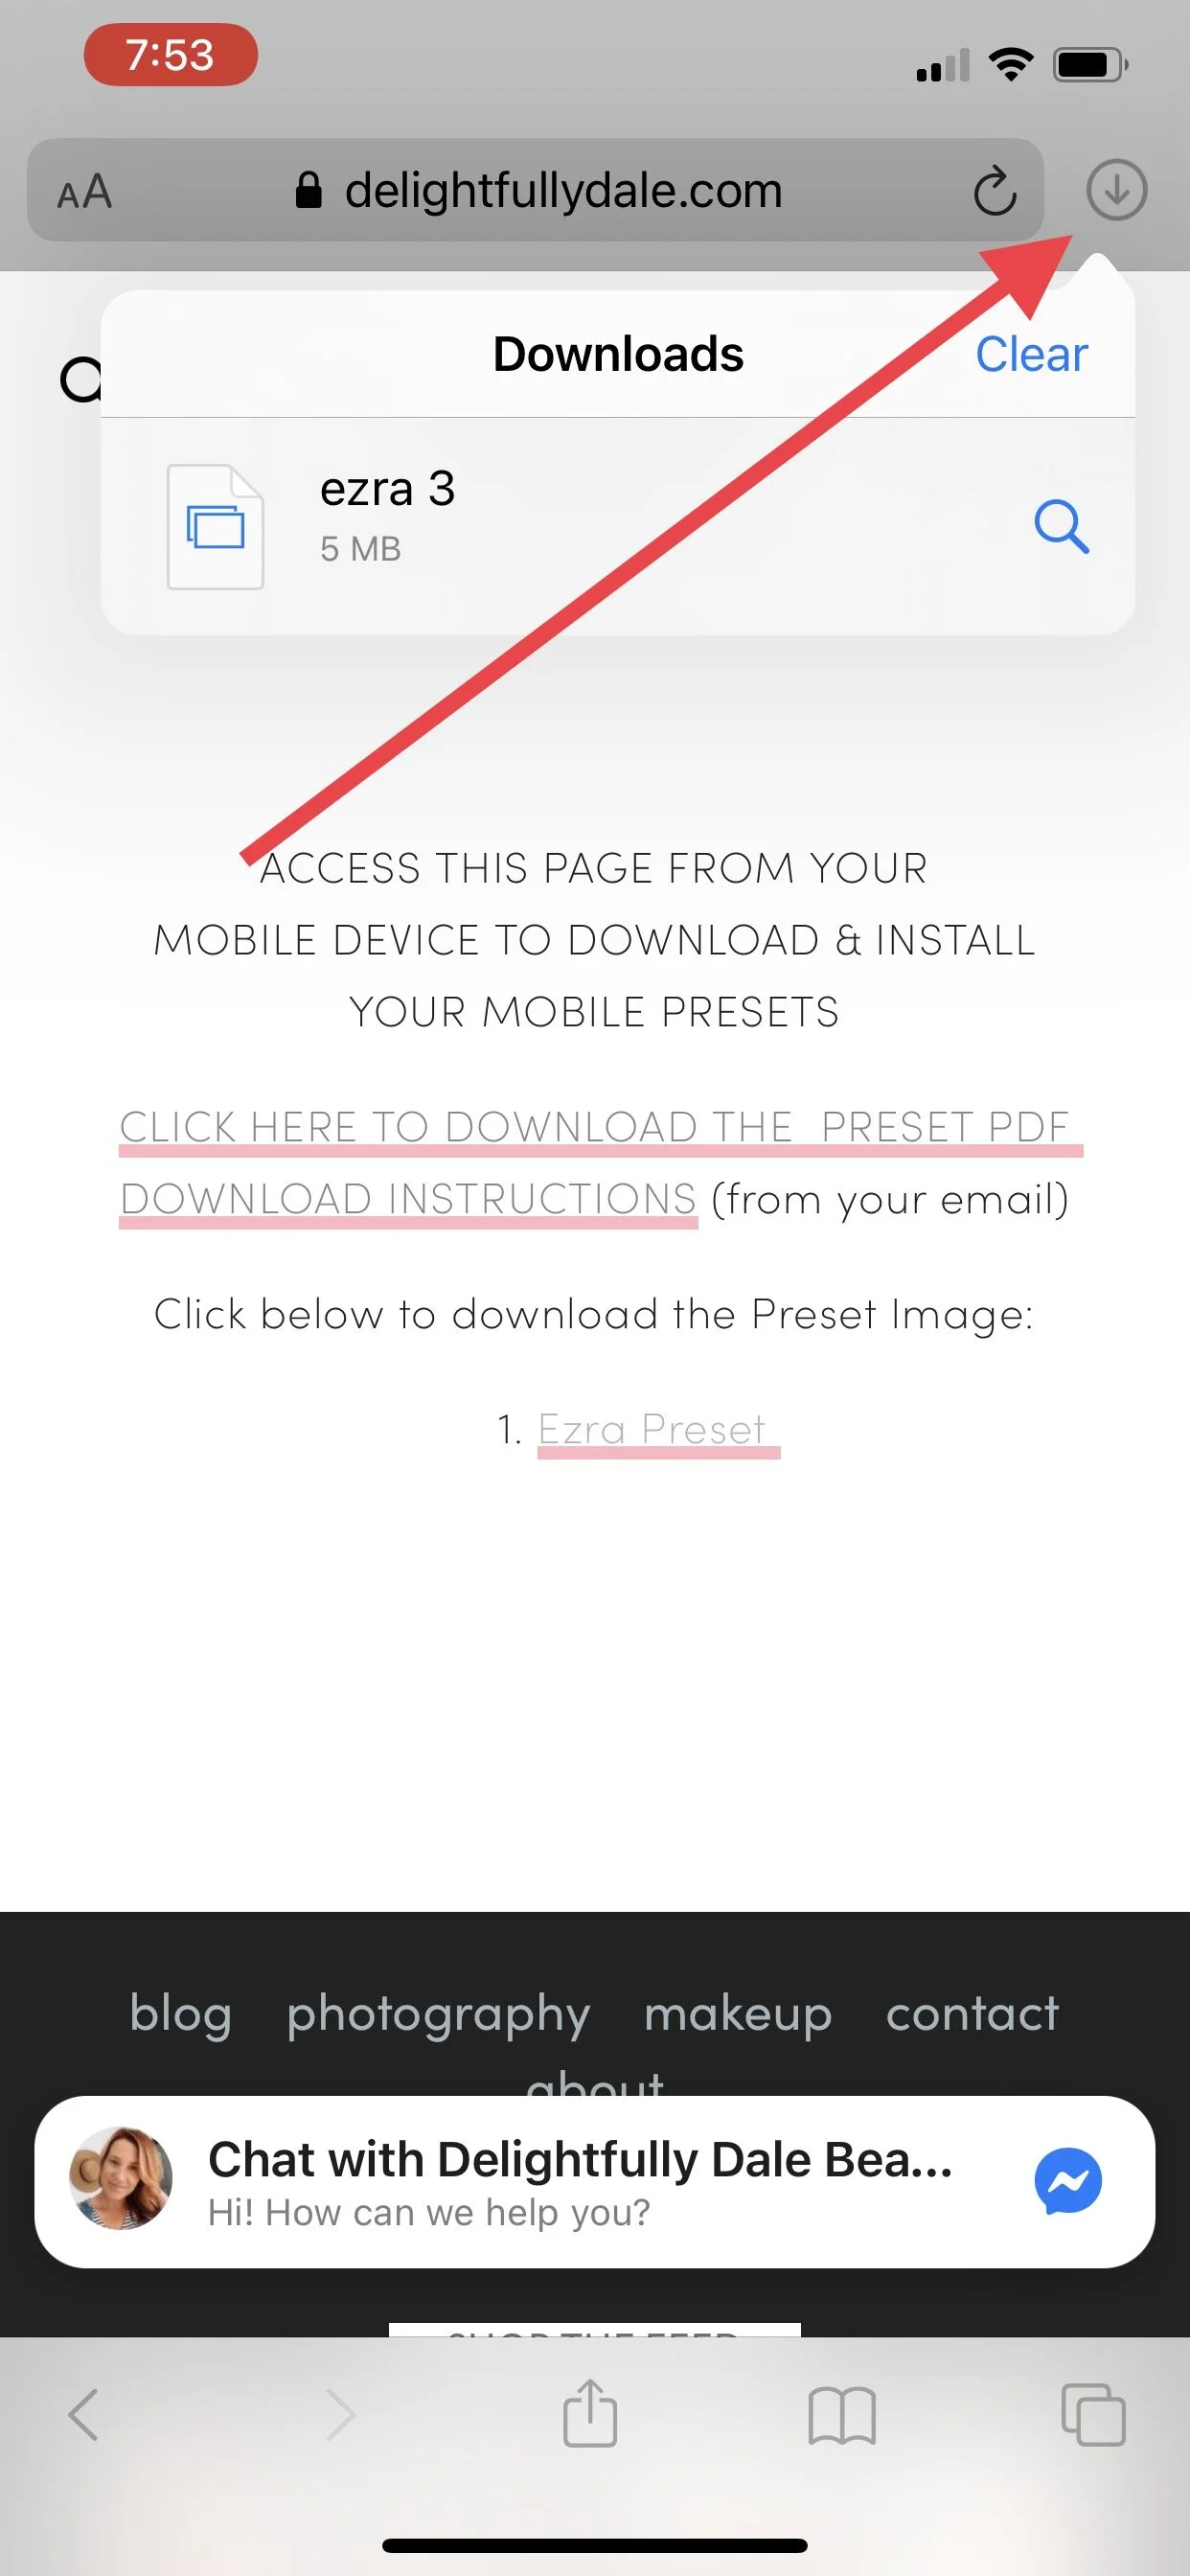
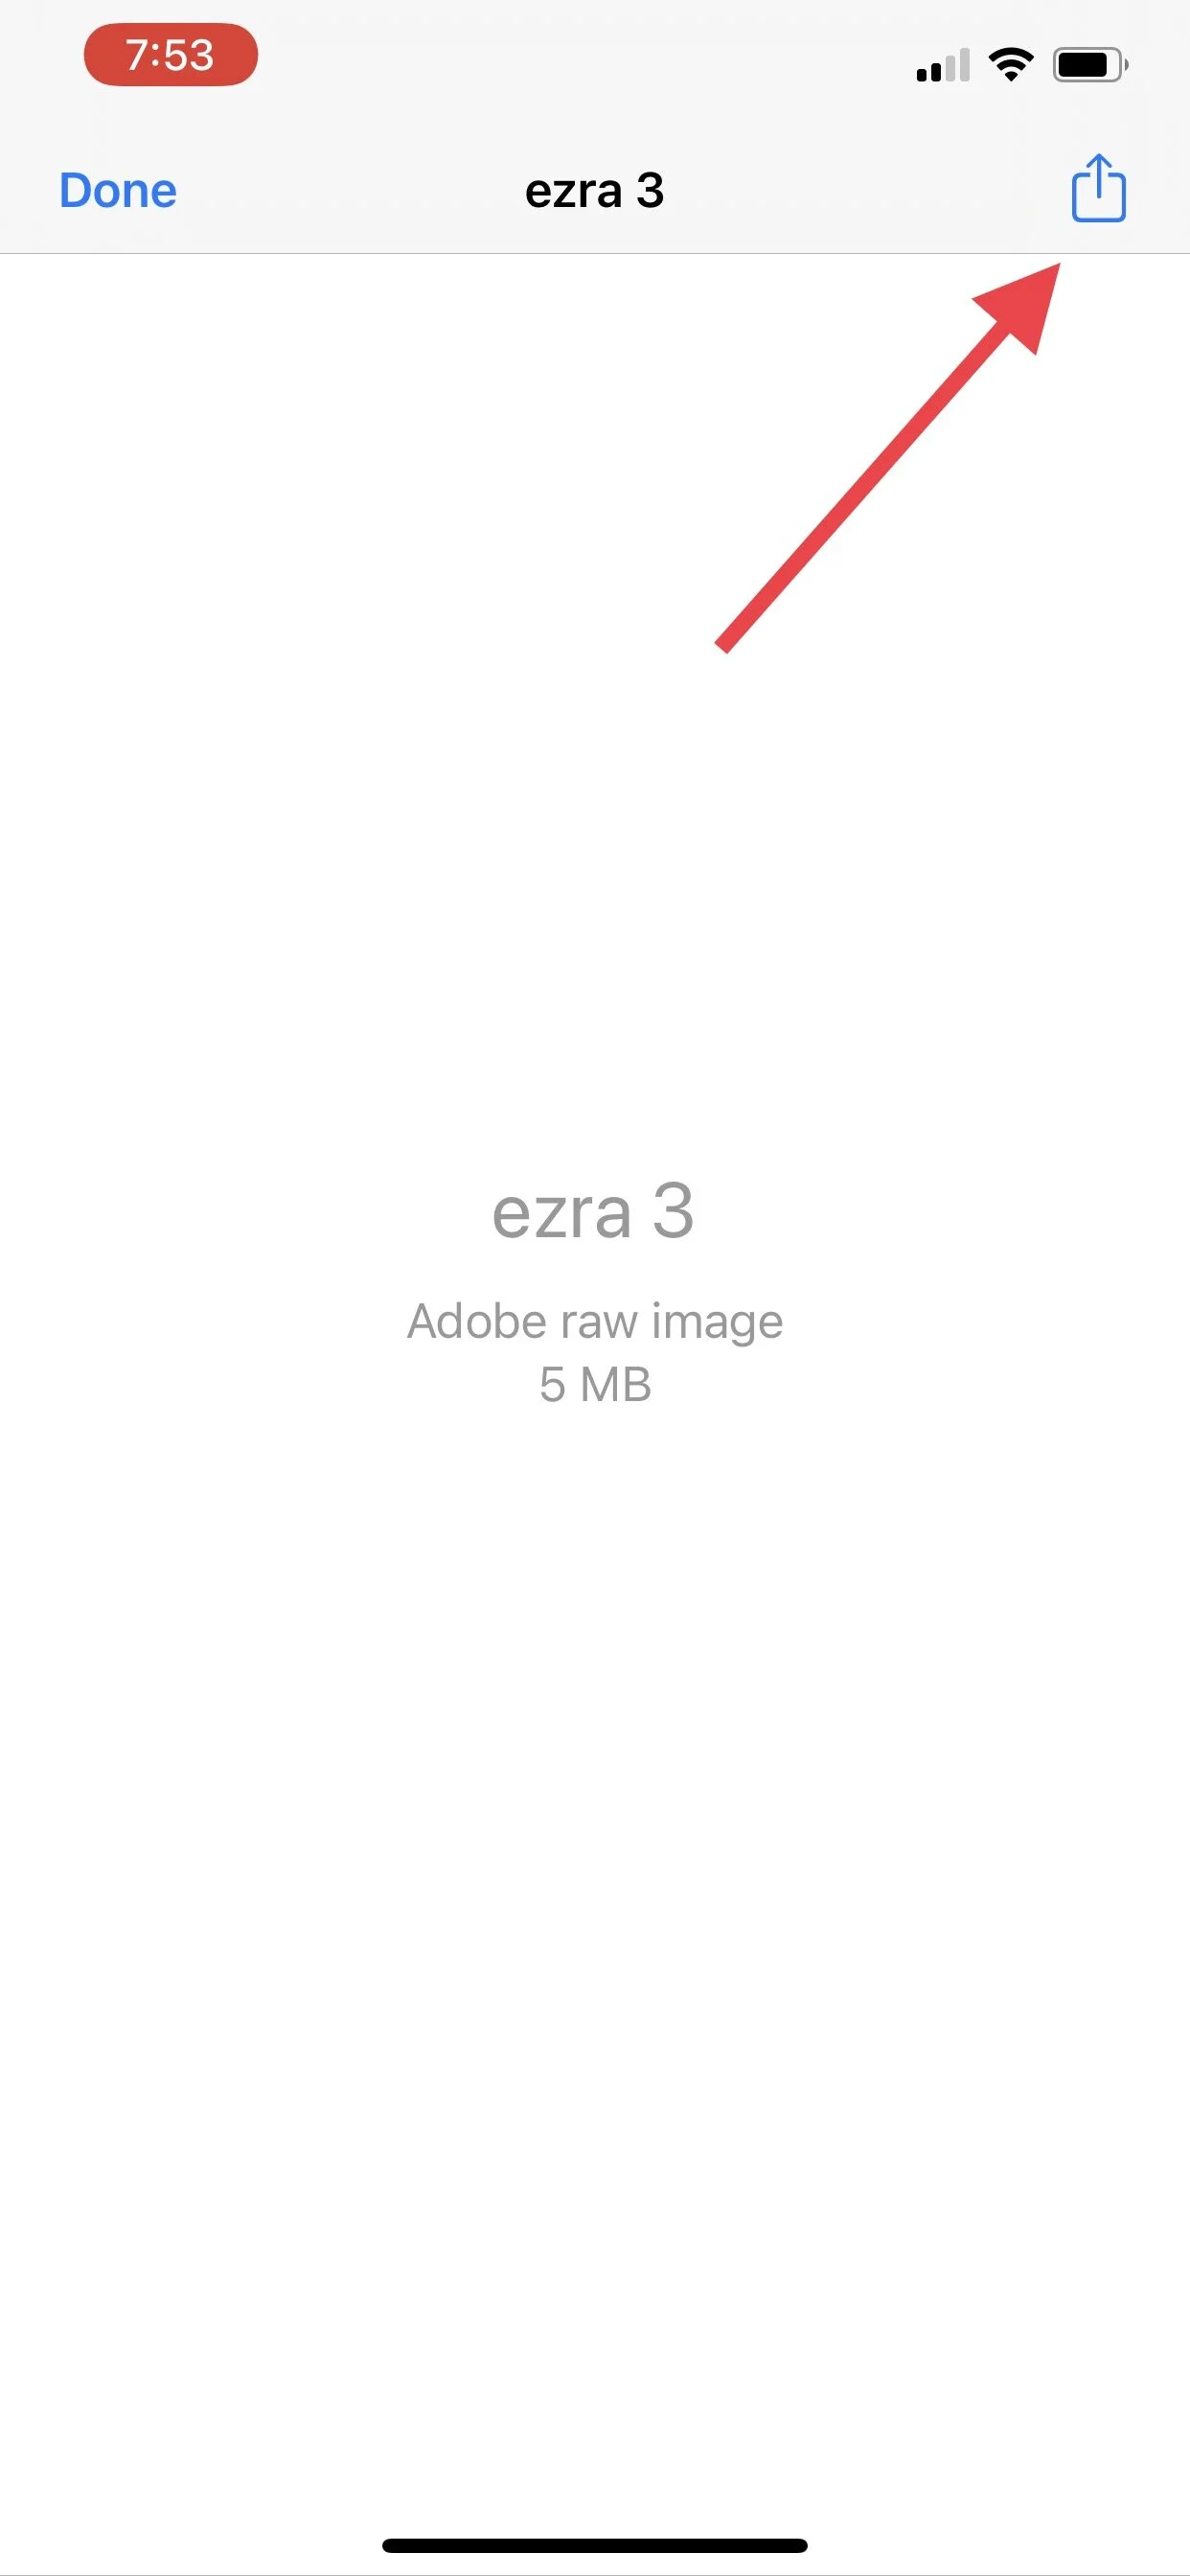
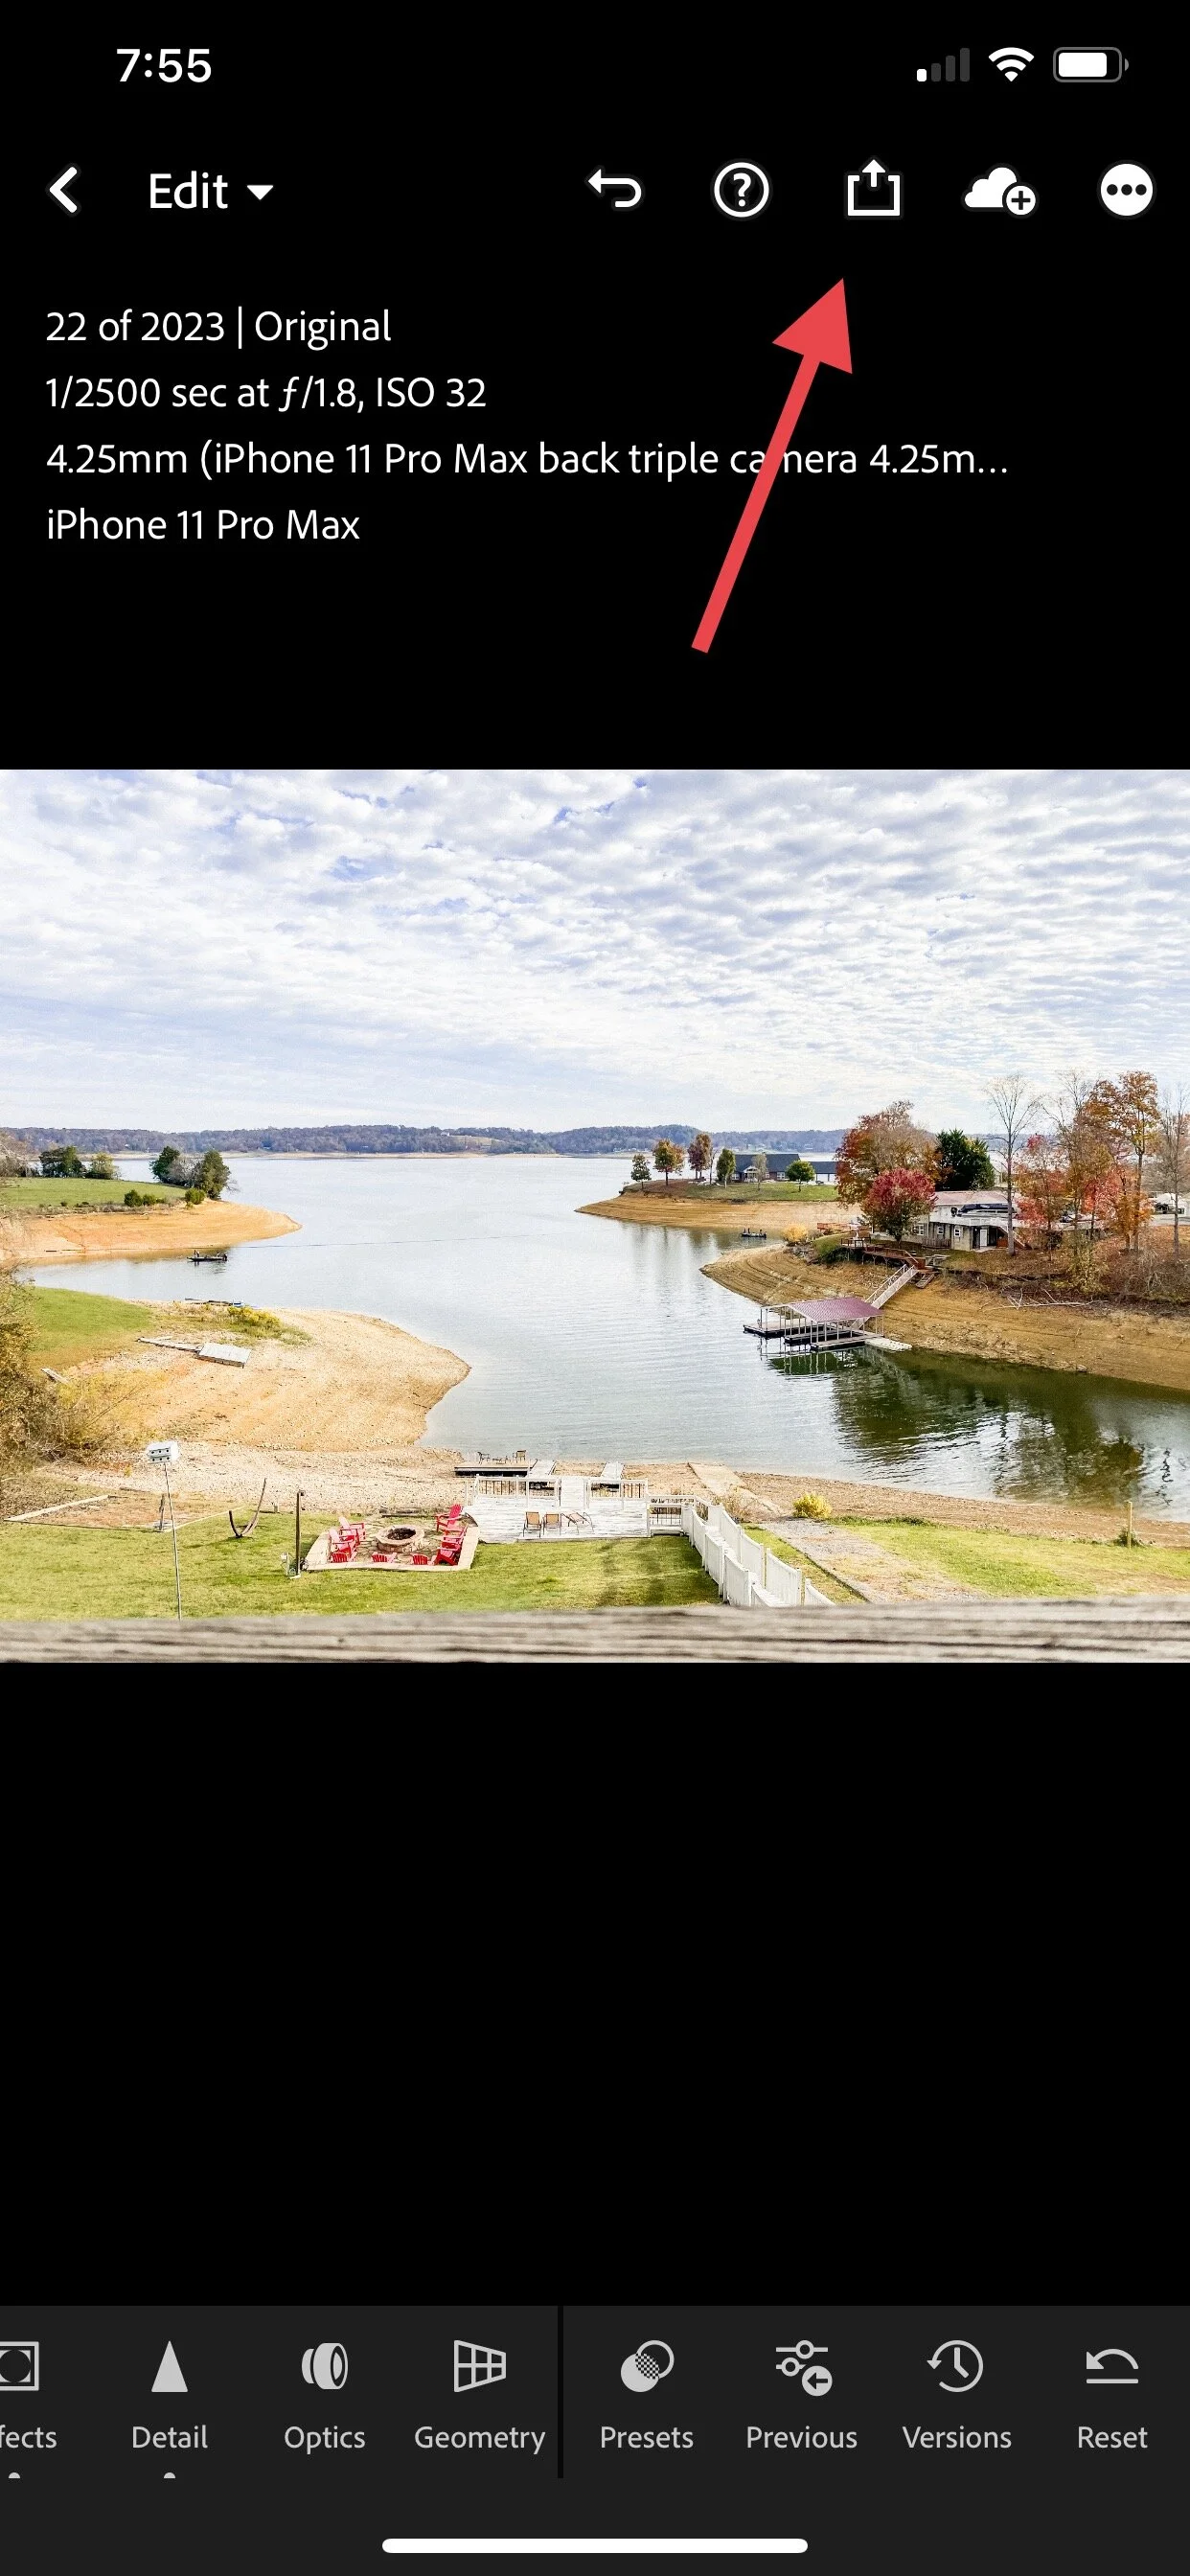
Step Six: Click the export arrow
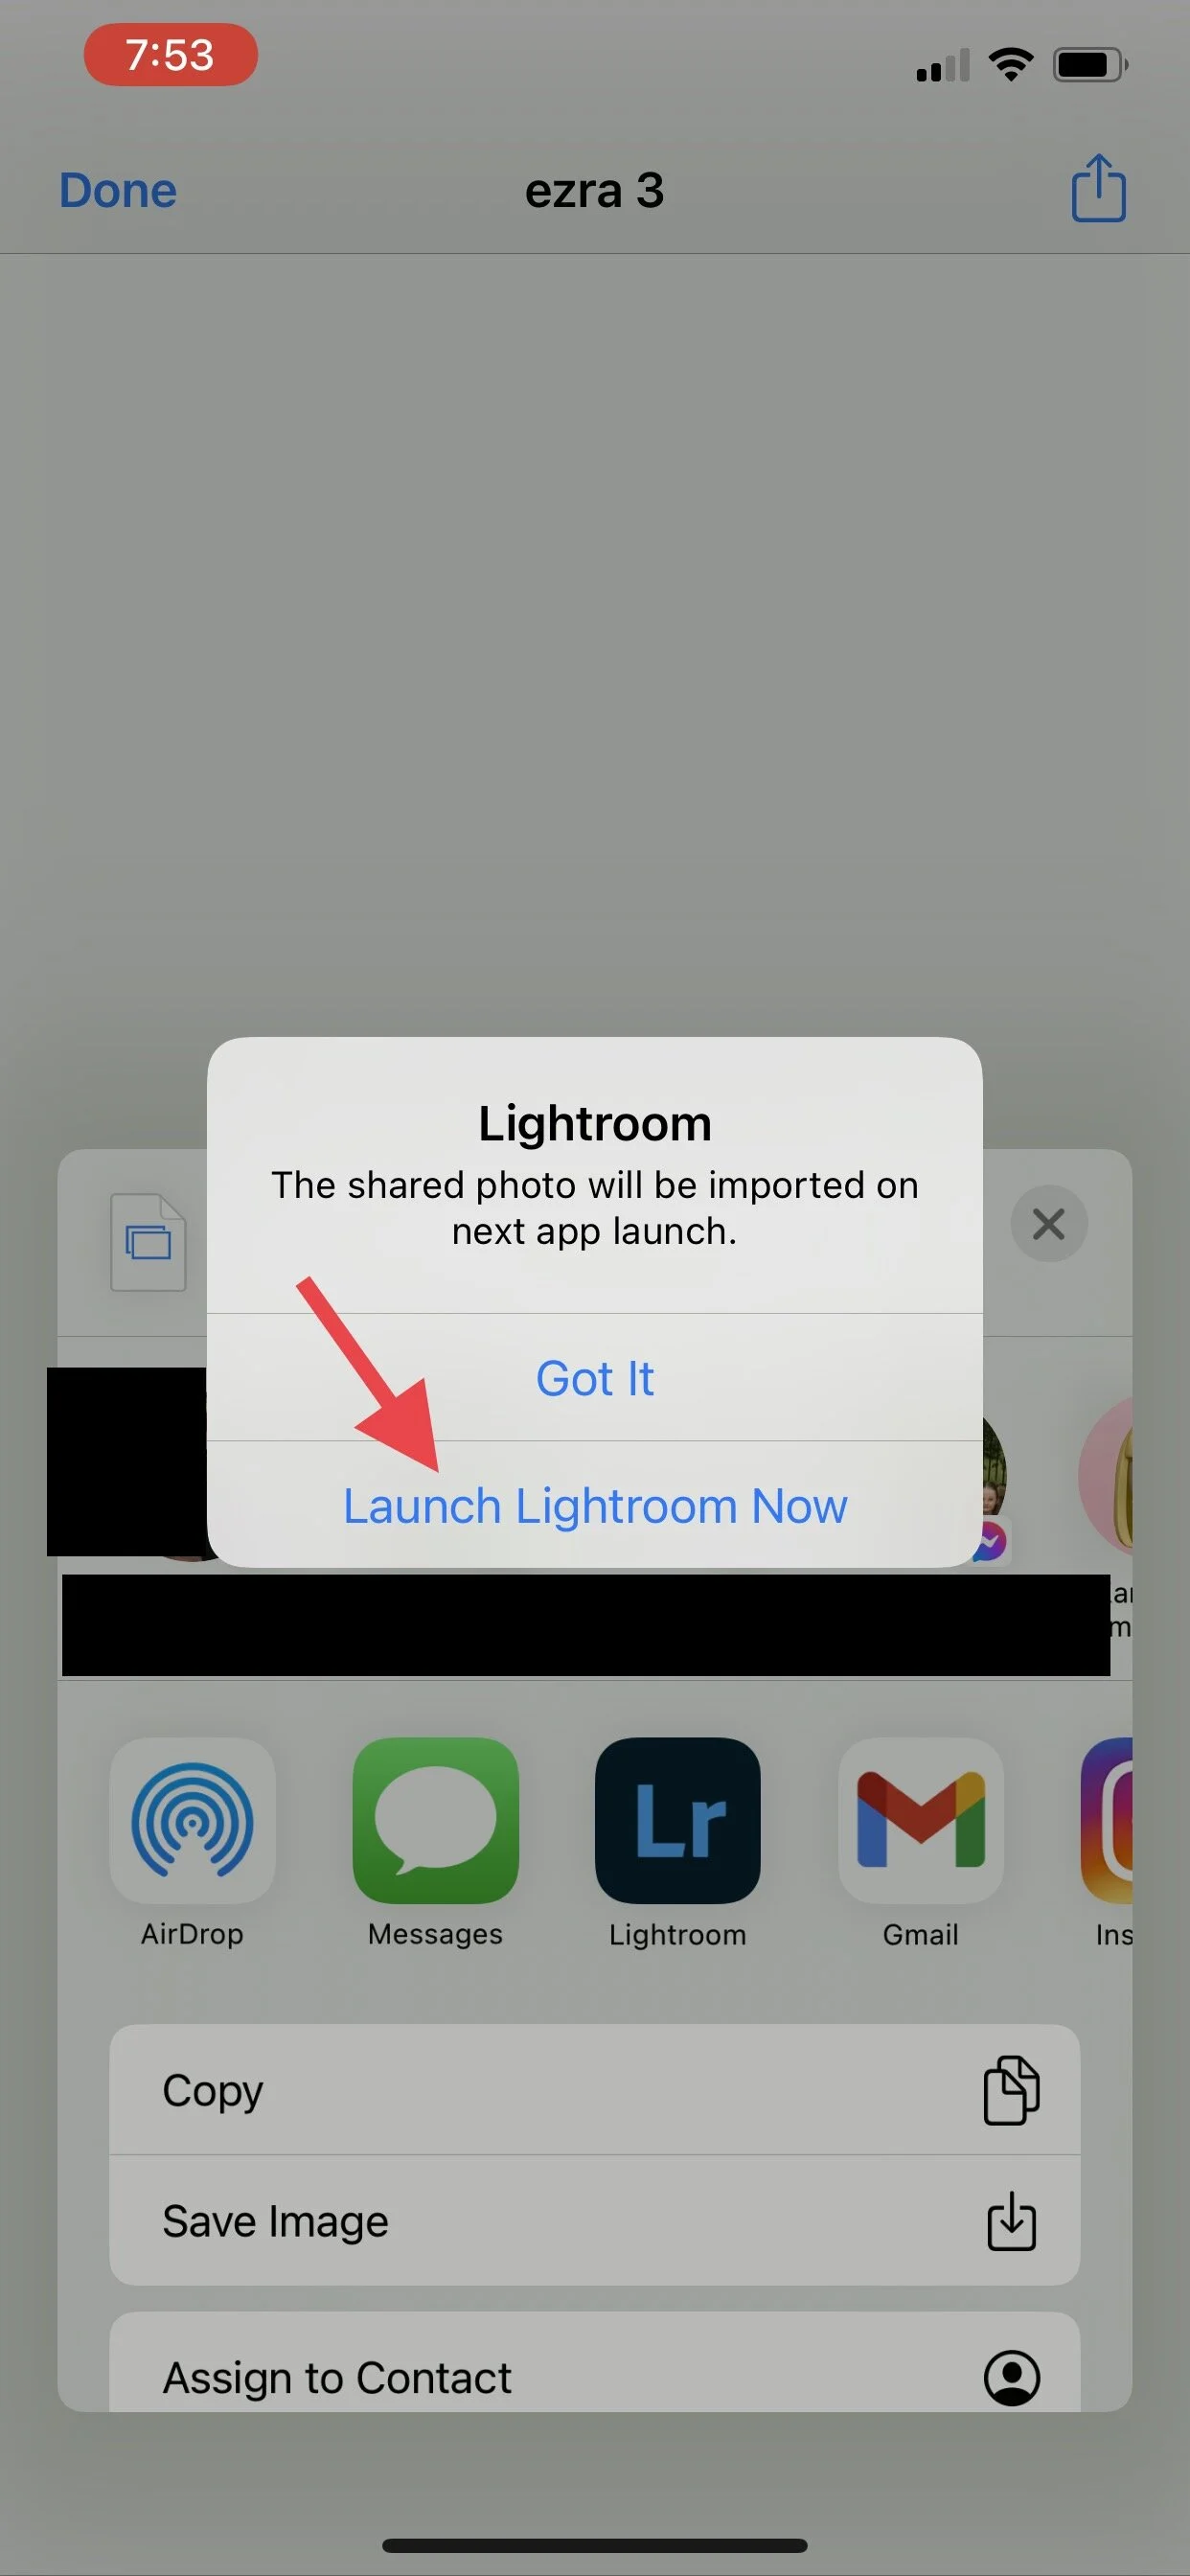
Step Seven: Select Lightroom. If it is not an option, scroll all the way to the right and select “more” to find it.

Step Eight: “Launch Lightroom Now”
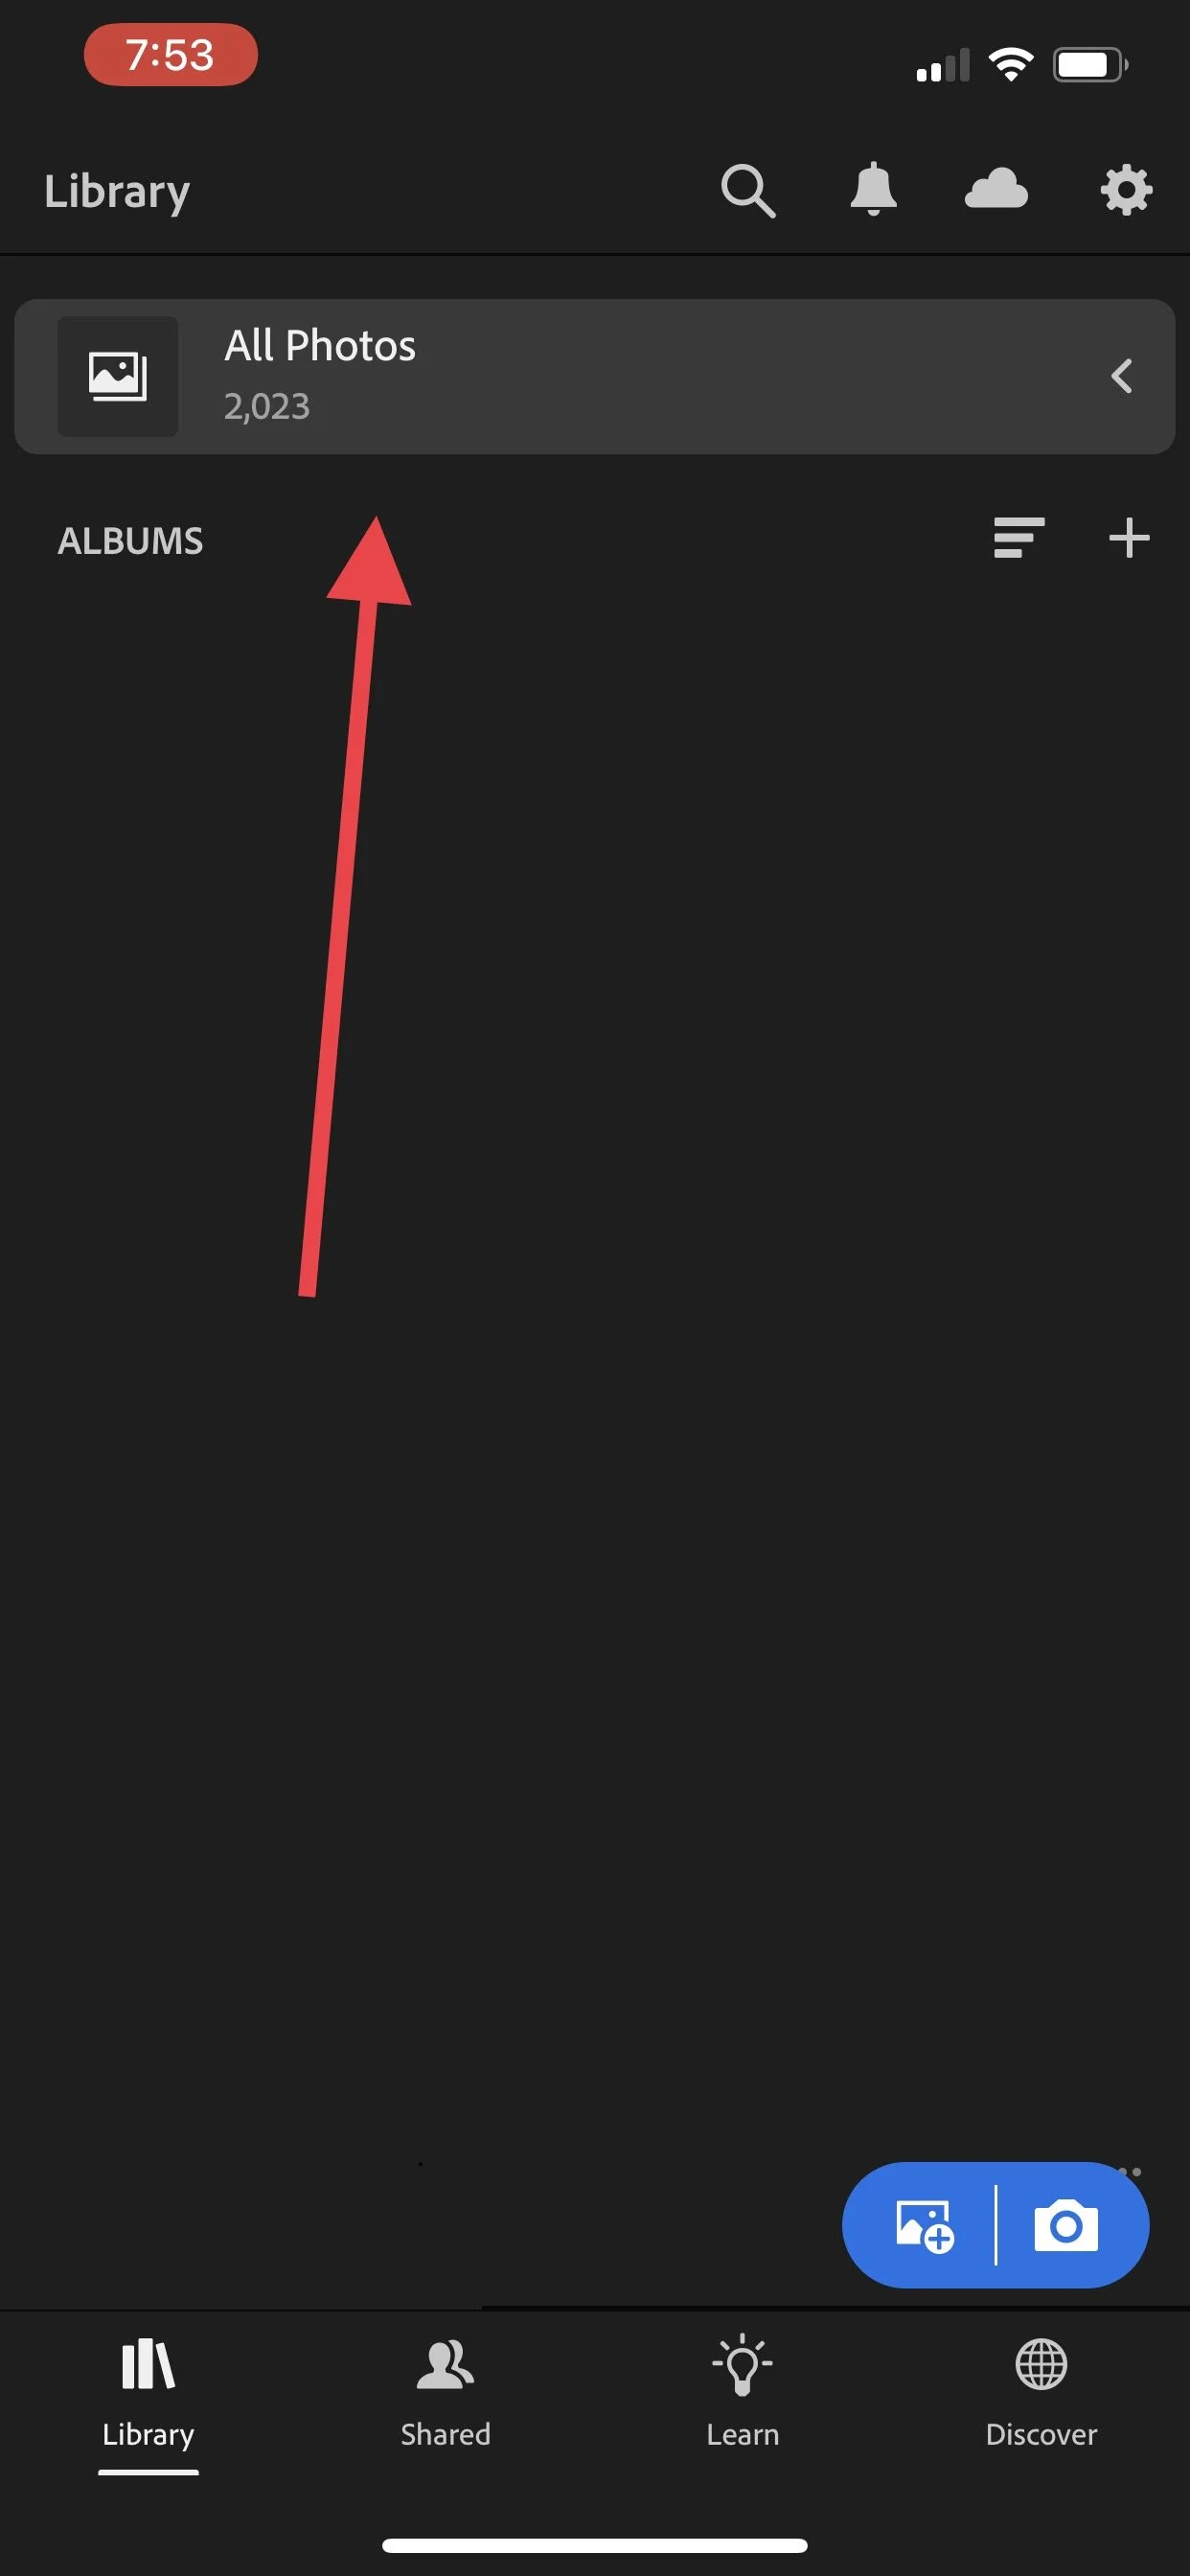
Step Nine: Lightroom will Launch and your picture should be in the “all photos” album
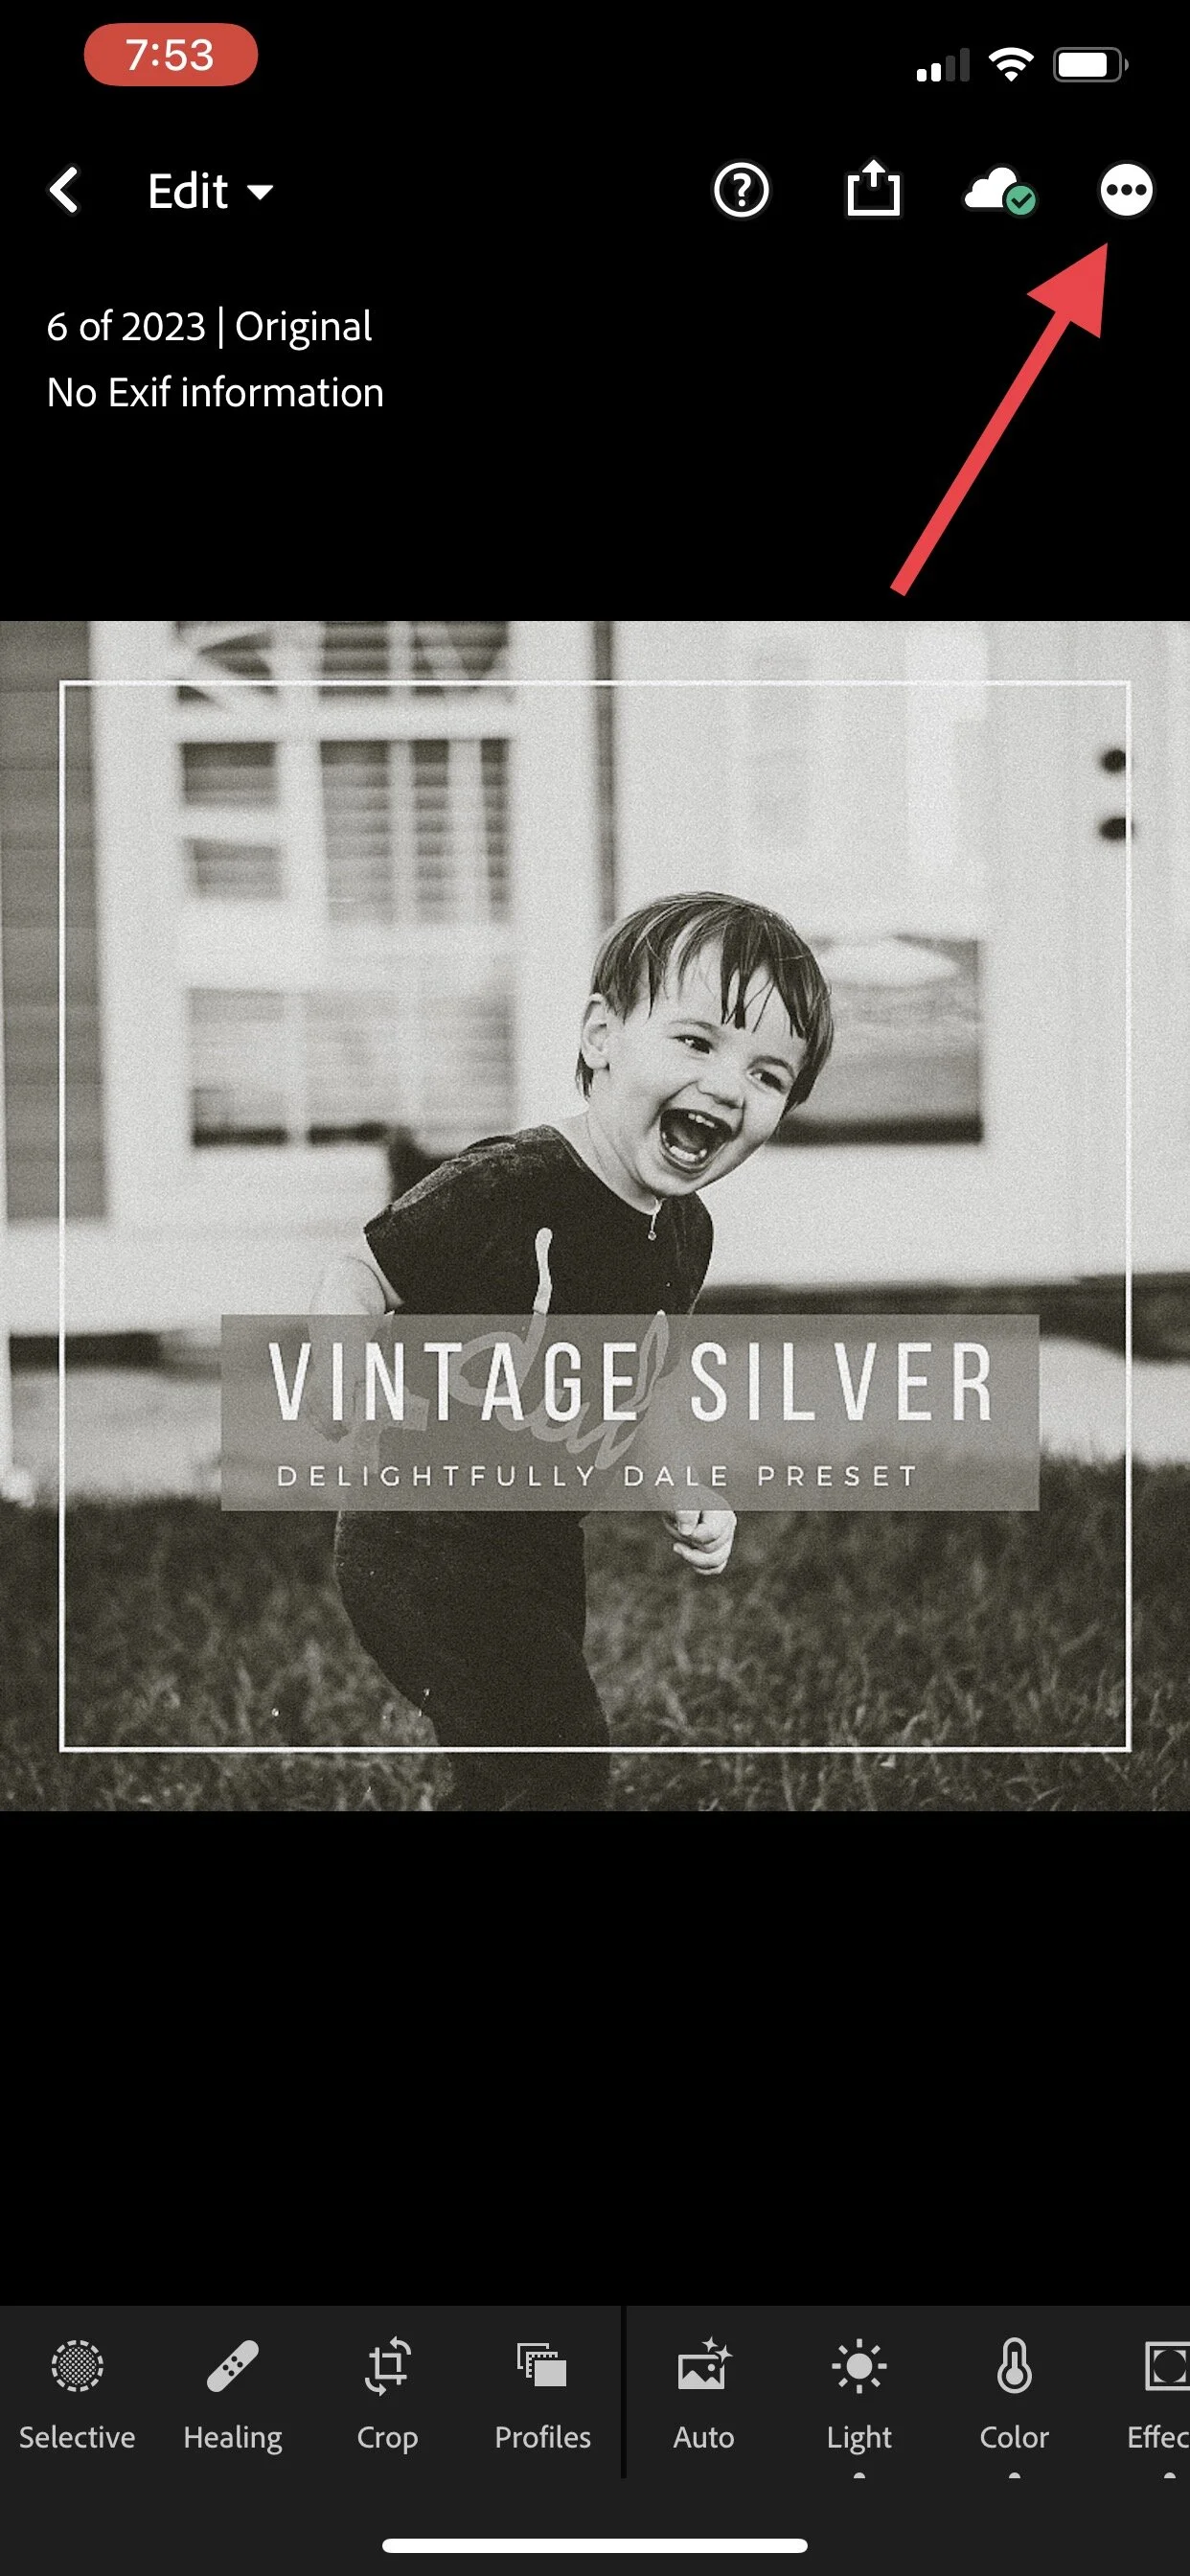
Step Ten: Open the photo and select the 3 dots
Step Eleven: Select Create Preset

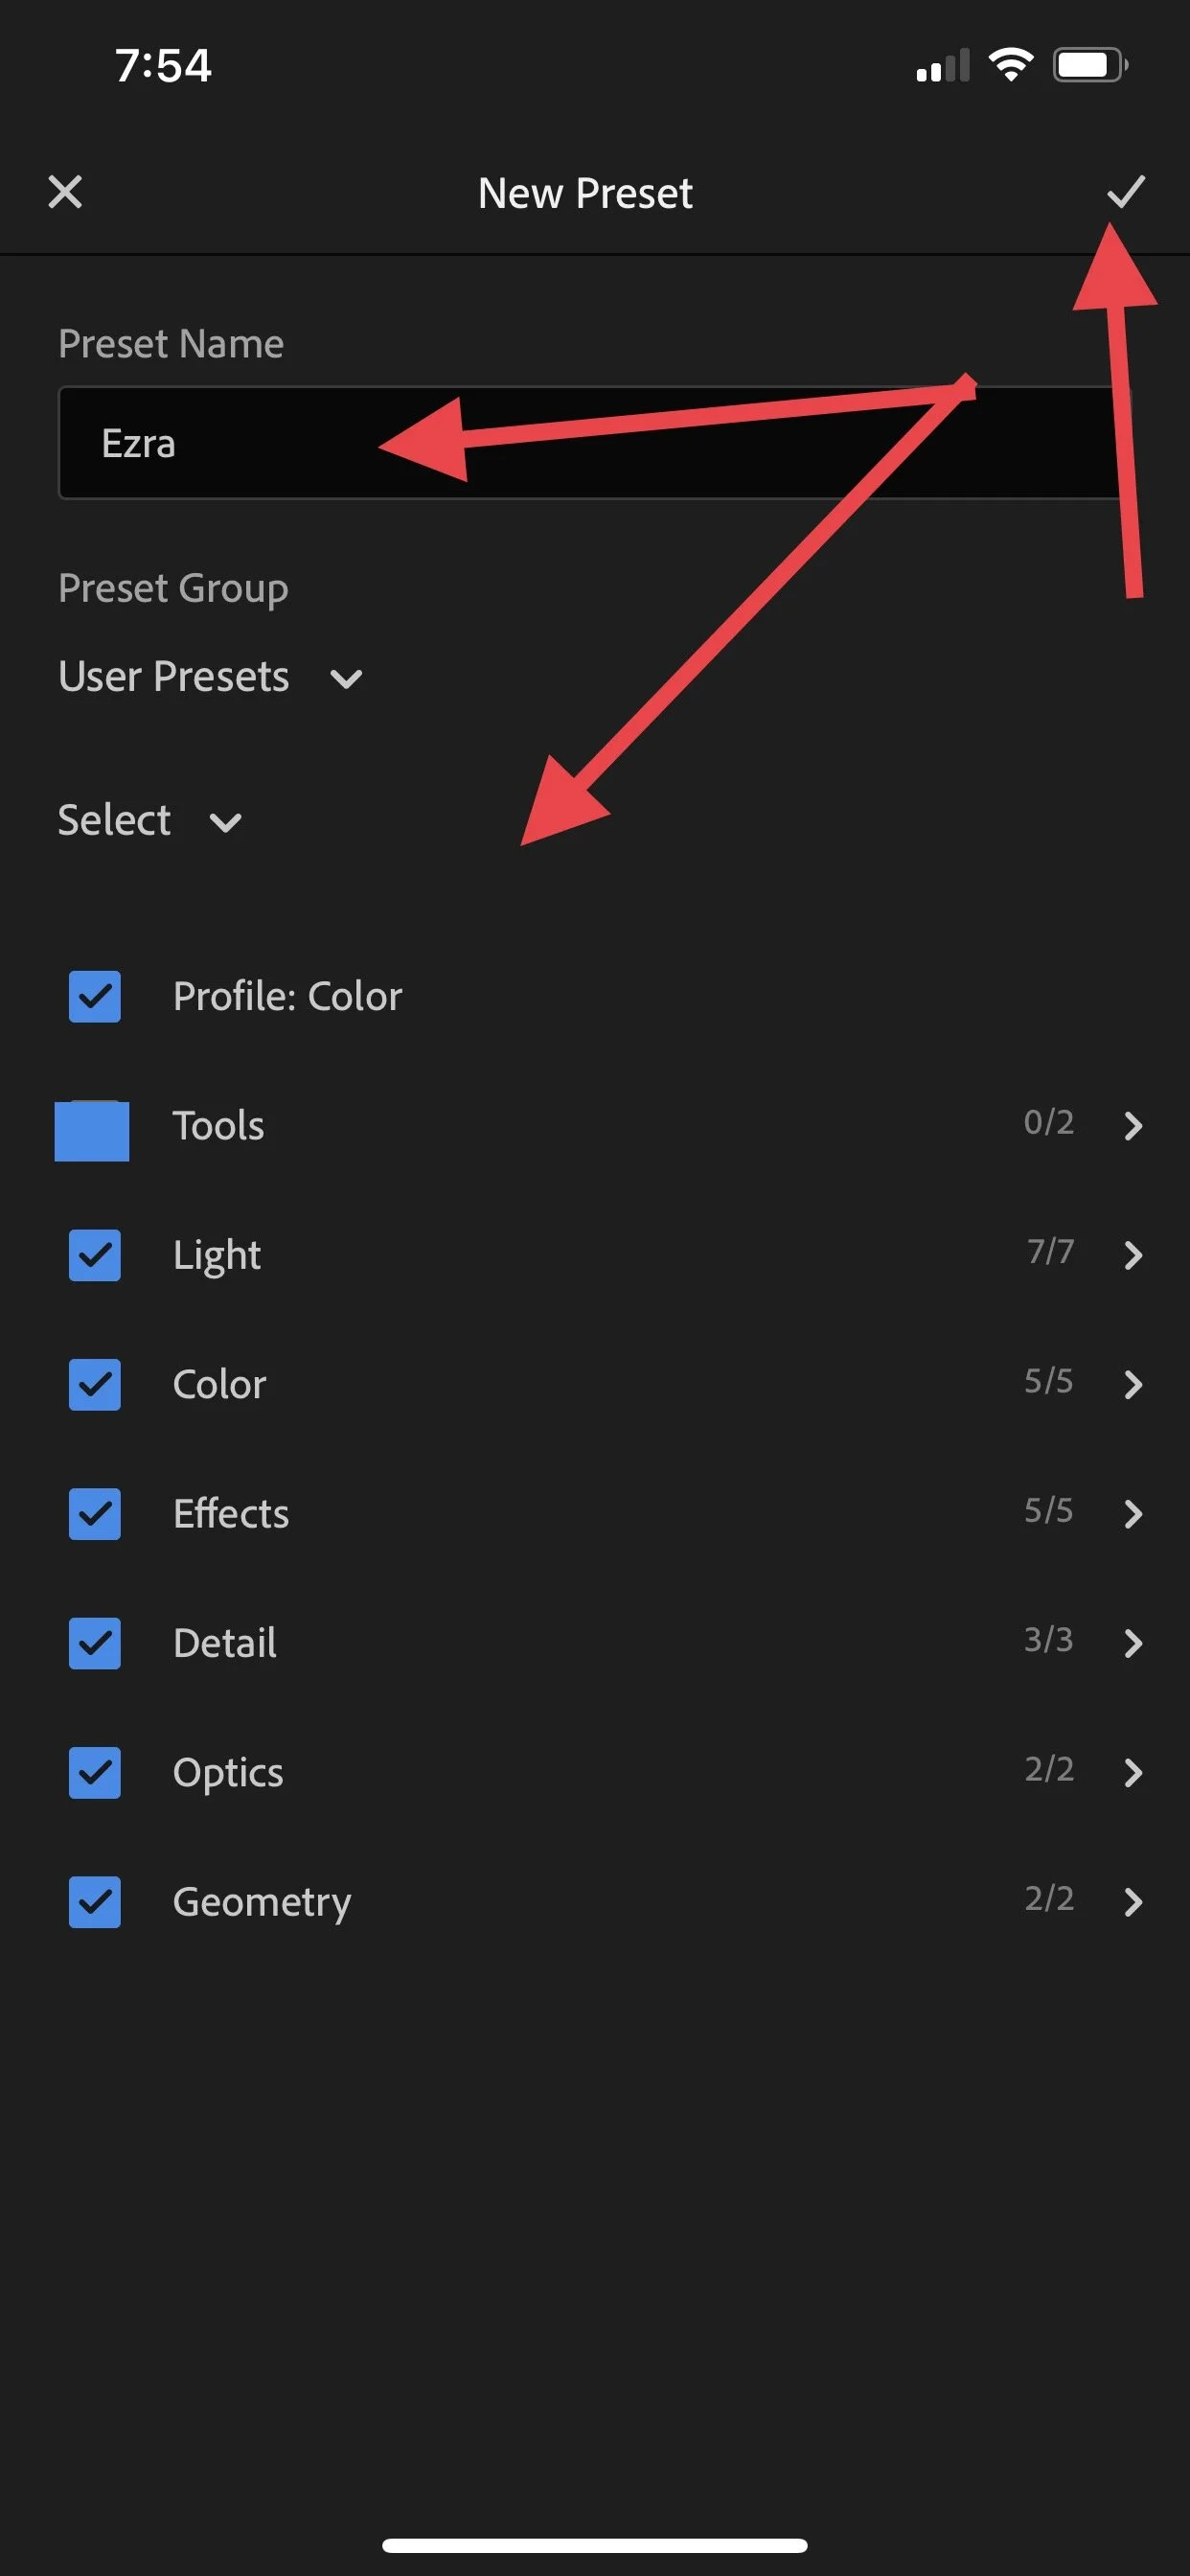
Step Twelve: Name your preset, make sure ALL blue boxes are checked, click the arrow in the top right to save. If you purchased multiple presets, repeat this process for each preset.
How to Use Your Presets
Step One: Click the blue upload icon and upload the picture you’d like to edit

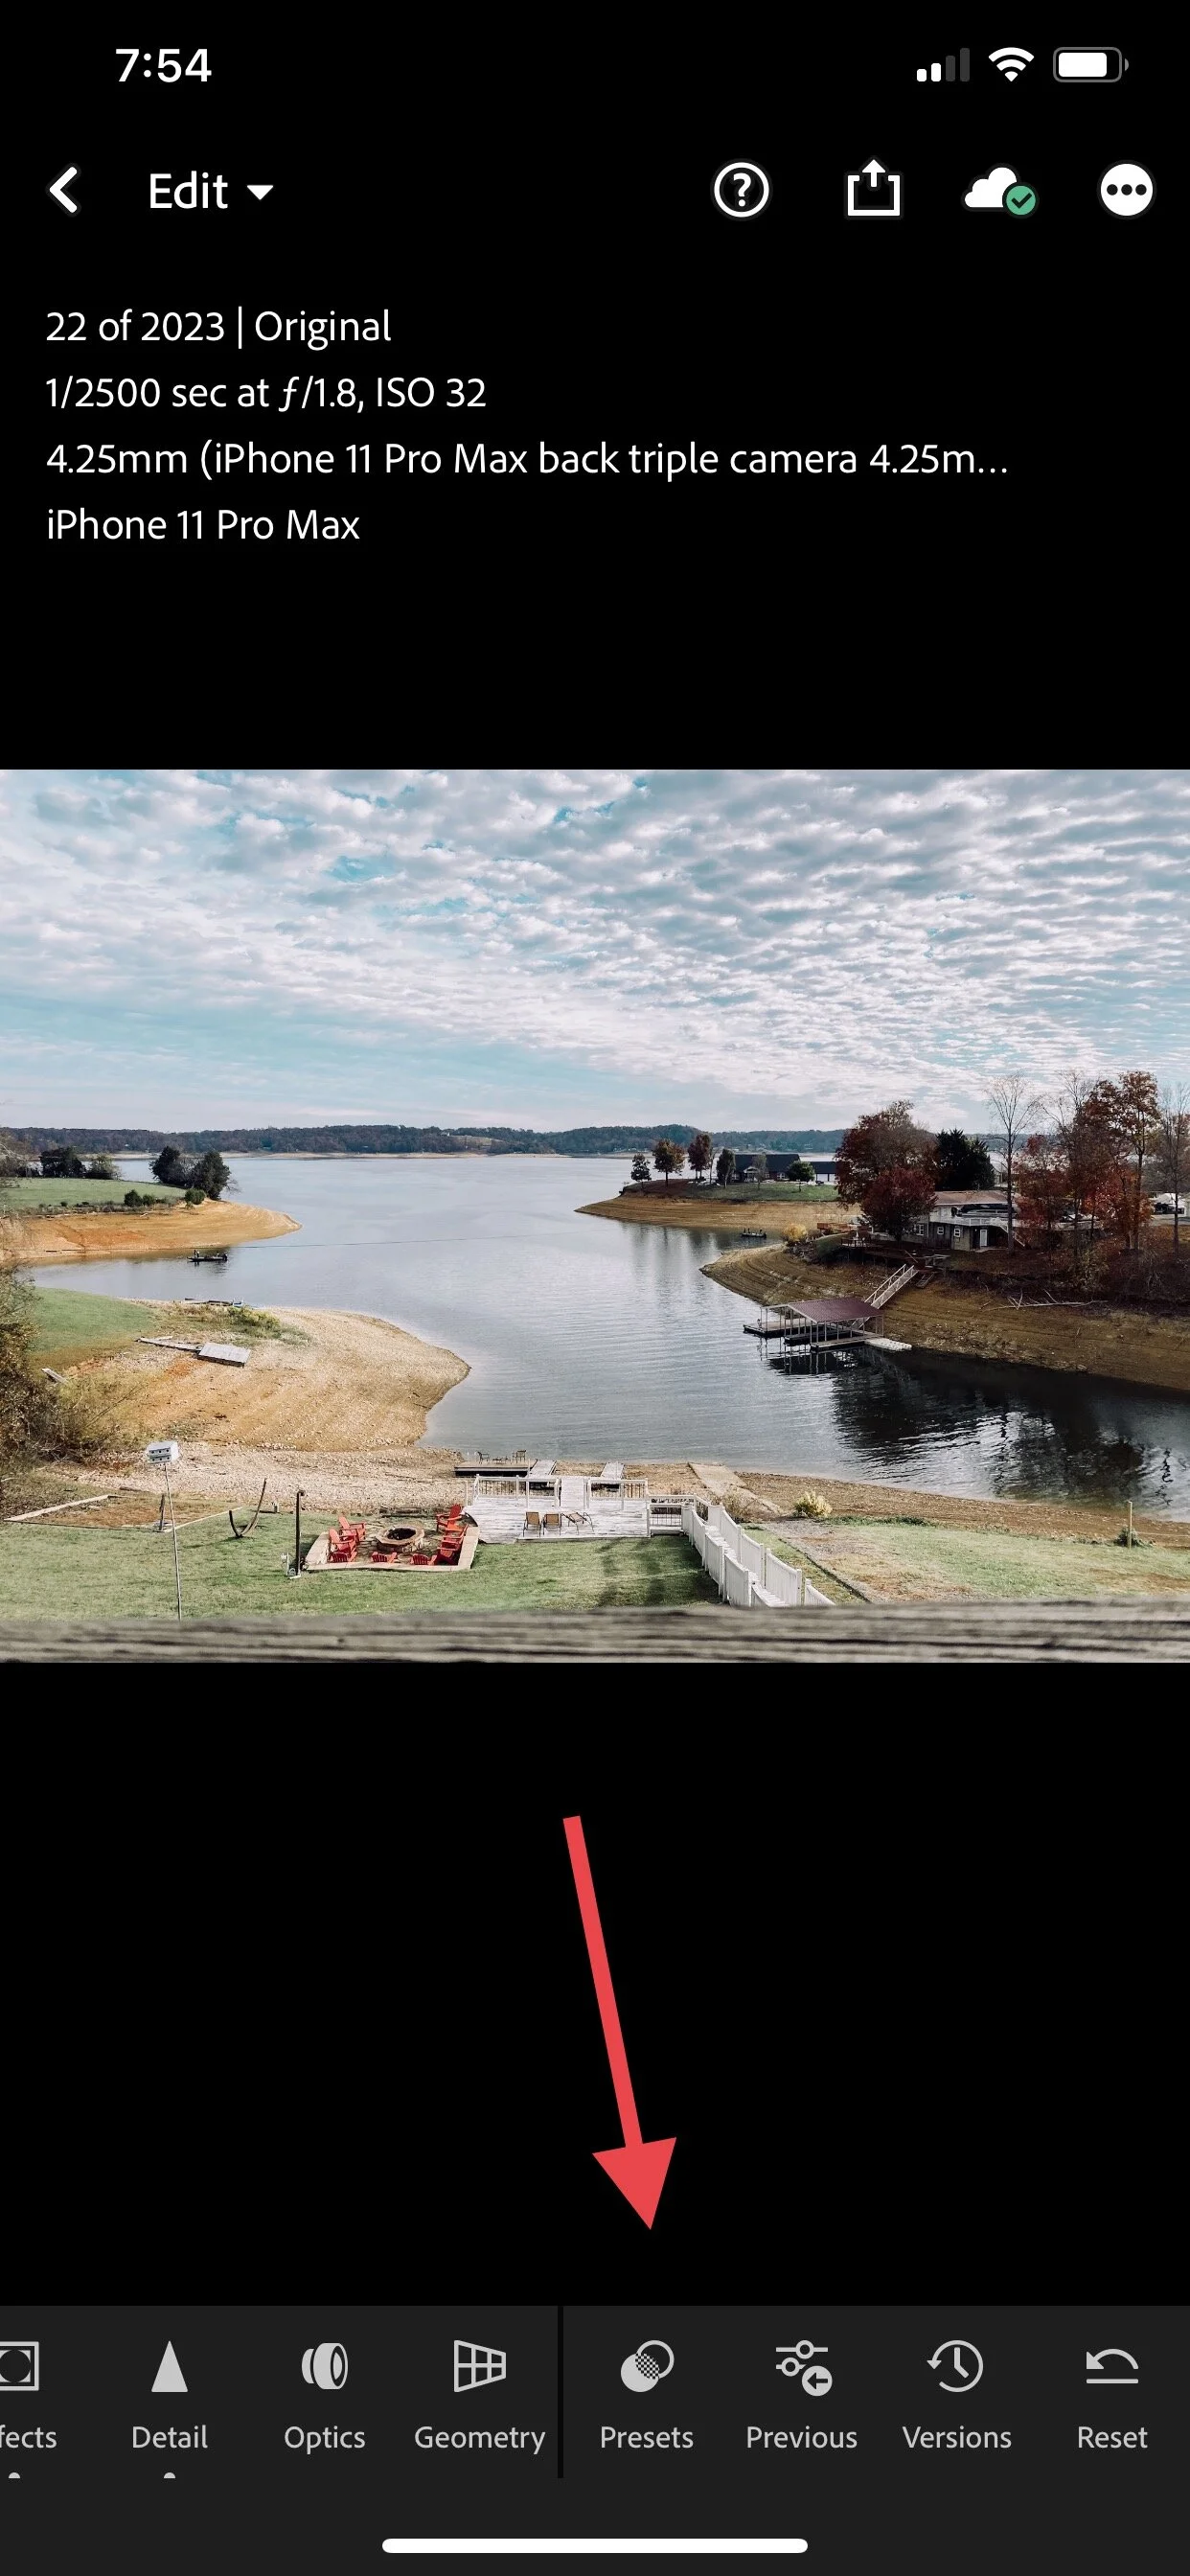
Step Two: Once open, scroll all the way to the right and select “presets”
Step Three: Select the Preset you’d like to apply (make sure you are under the “User Presets” folder), click the check to save.

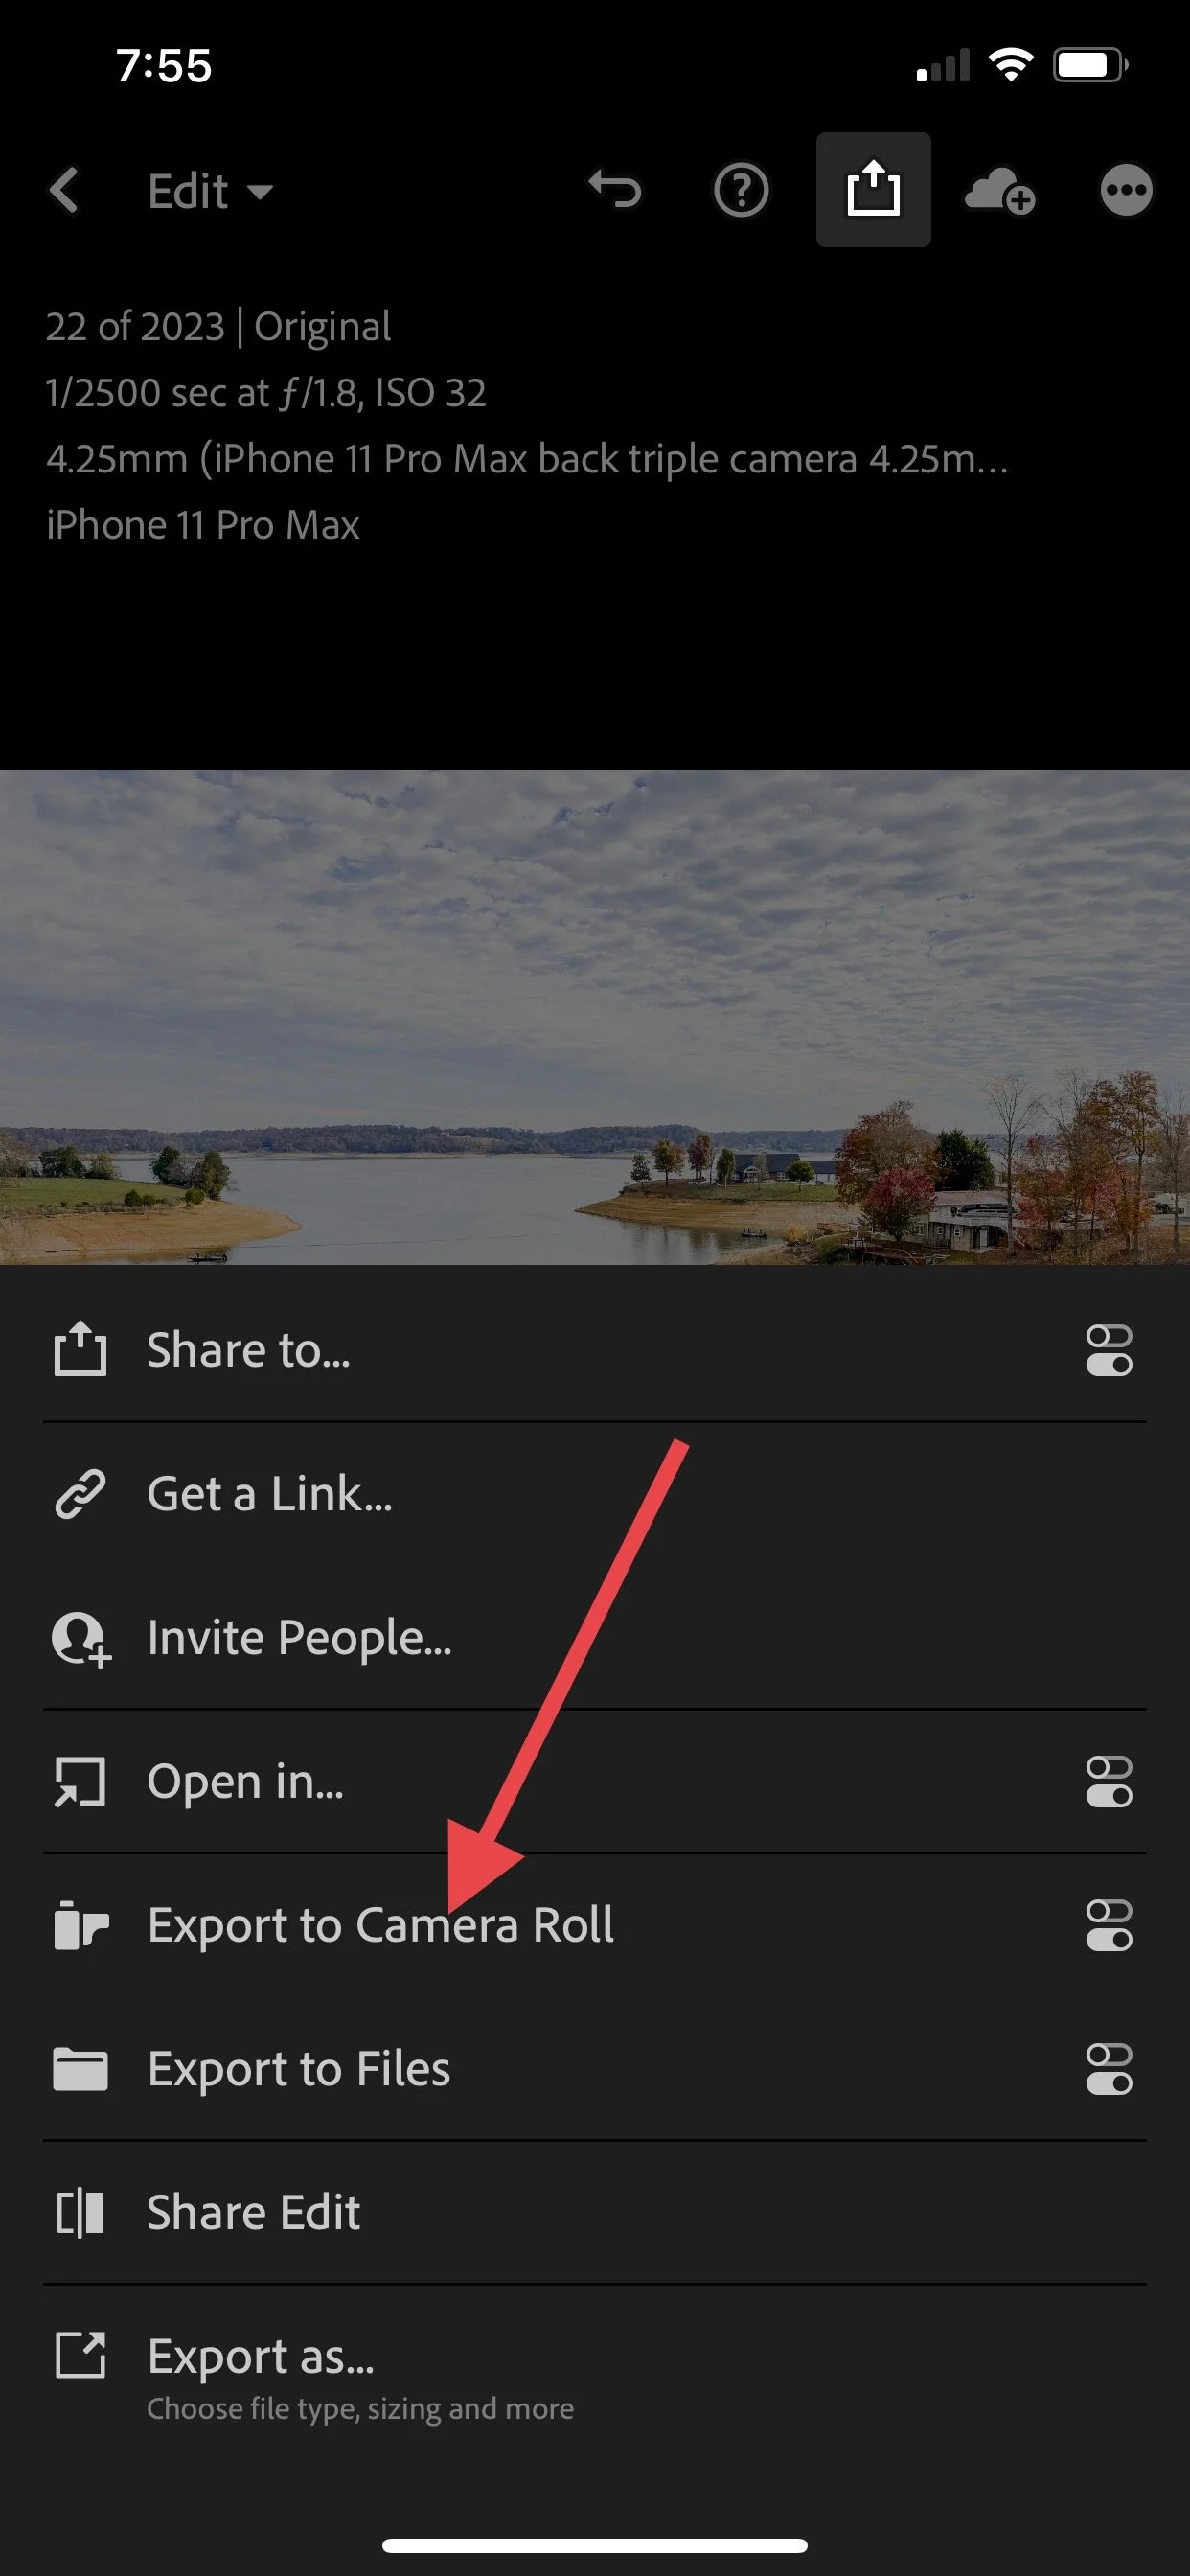
Step Four: To export, click the export arrow
Step Five: click “save to camera roll”